How to blink LED using Arduino UNO

In this tutorial, we’ll build the simplest Arduino project called blinking an LED.

Components Required

  • Arduino Uno (or compatible board)
  • 1 × LED
  • 1 × 220Ω resistor
  • Jumper wires
  • USB cable
LED
L E D
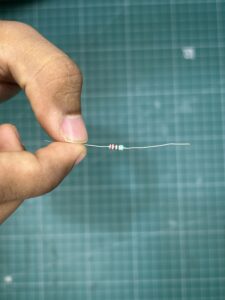
Resistor
Resistor

Understanding the LED Pins

Before wiring, check the LED:

  • Long leg → Positive (Anode)
  • Short leg → Negative (Cathode)

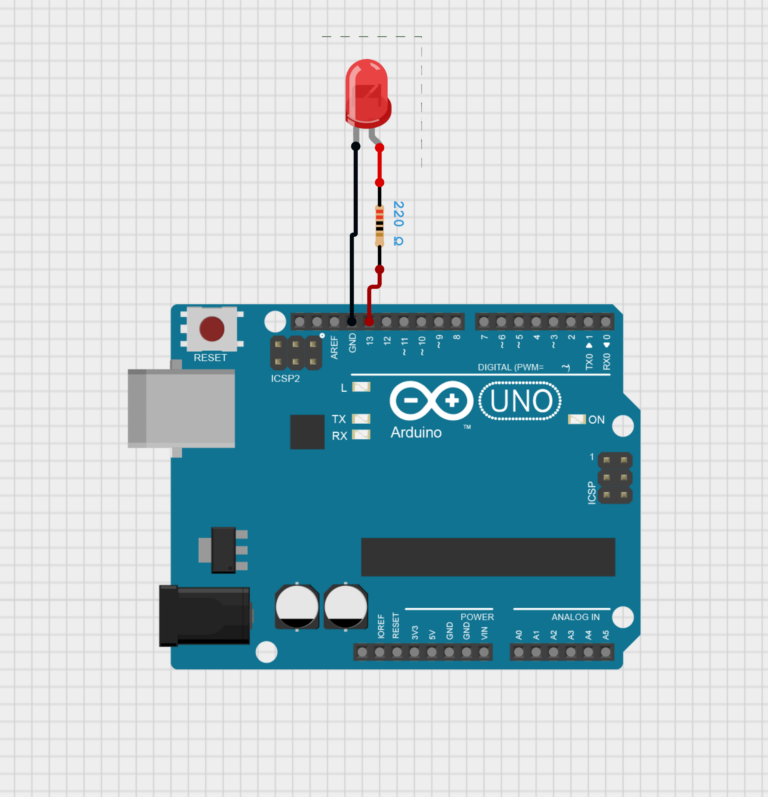
Circuit connection

Arduino Uno with L E D

Follow these steps:

  1. Connect the long leg to one end of the resistor
  2. Connect the other end of the resistor to pin 13 on Arduino
  3. Connect the short leg to GND of Arduino

Upload the code

void setup() {
pinMode(LED_BUILTIN, OUTPUT); // Set built-in LED pin as output
}

void loop() {
digitalWrite(LED_BUILTIN, HIGH); // Turn LED ON
delay(1000); // Wait 1 second
digitalWrite(LED_BUILTIN, LOW); // Turn LED OFF
delay(1000); // Wait 1 second
}

Open Arduino IDE and paste the above code.

Then – 

  • Select the correct board (Arduino Uno)
  • Select the correct COM port
  • Click Upload

How this code works?

  • pinMode(13, OUTPUT) → tells Arduino to control that pin
  • digitalWrite(HIGH) → sends voltage → LED ON
  • digitalWrite(LOW) → no voltage → LED OFF
  • delay() → controls timing

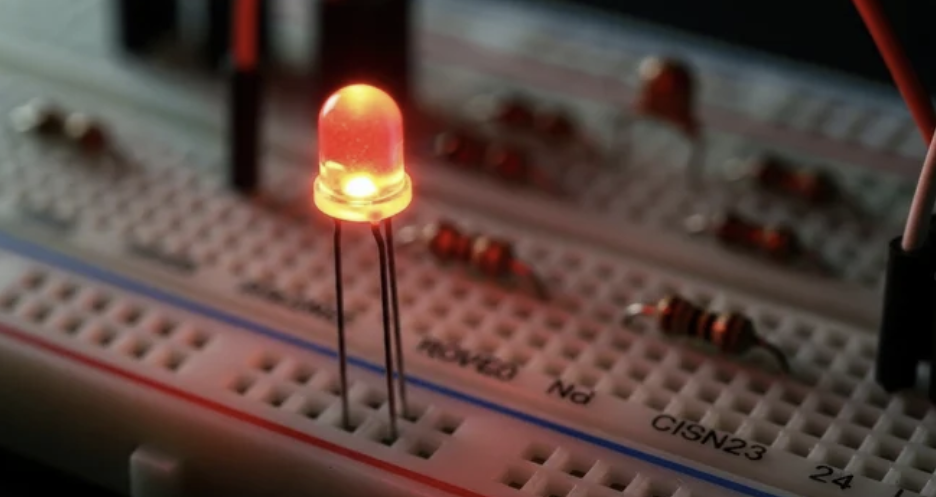
 You can see the LED blinking and this simple project is the foundation of almost every embedded system. Once you understand this, you’re ready to build more meaningful electronics projects.

Leave a Reply

Your email address will not be published. Required fields are marked *